Software development studio based in Athens, Greece.
We design and build beautiful websites and products for startups and tech companies.

Since 2012, we have partnered with numerous clients
We have helped numerous clients create their applications, online stores and company websites.


Websites
Educate, sell and grow through your website.
We create websites that are both functional and energizing - providing users with a holistic experience that will make them want to take action.


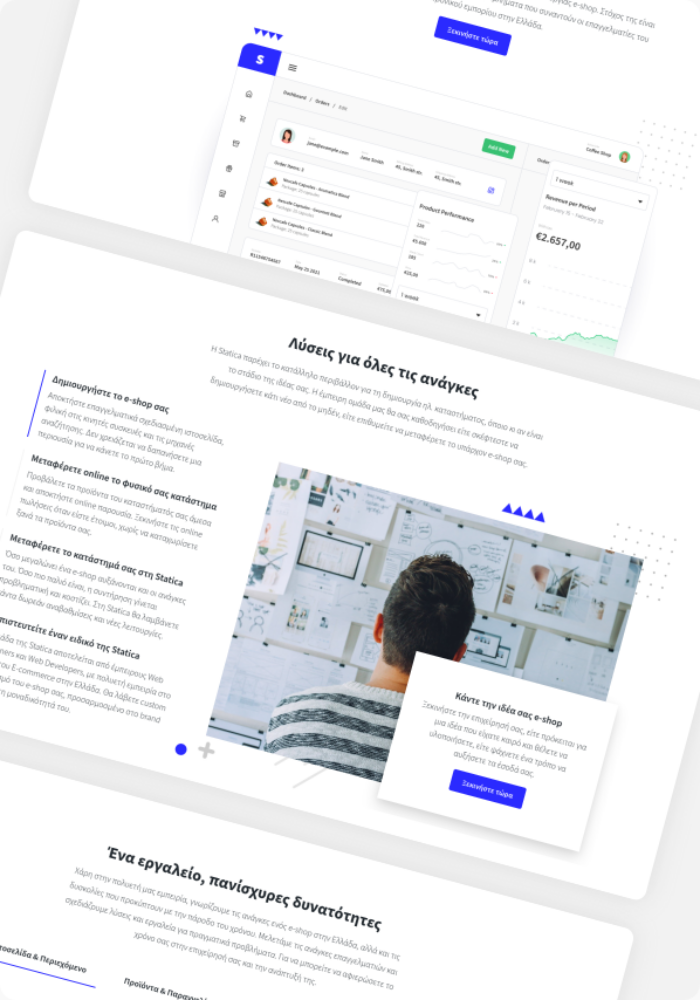
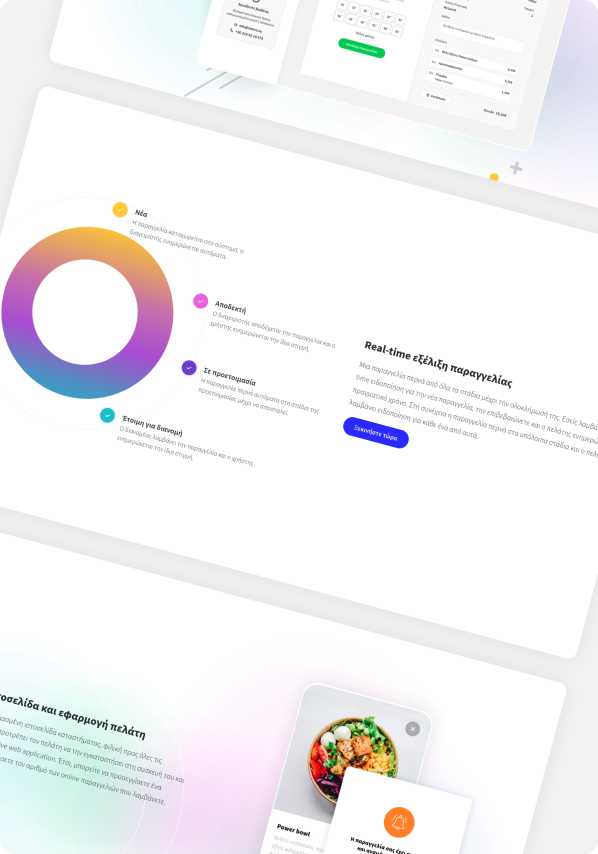
Products
Sleek products that people love to use.
We design and build robust digital platforms and apps that help other companies grow. We have the experience to convert your idea into a digital product.
We enjoy working with modern technologies


Start your project today.
Get in touch with us.
We will be happy to work with you
Address: Athens, Greece Phone: +30 210 921 9575 Email: info@hardpixel.eu